Building a Webcam on a Raspberry Pi - Setting Up
I had no plans to change the original design, other than performing a little bit of maintenance.
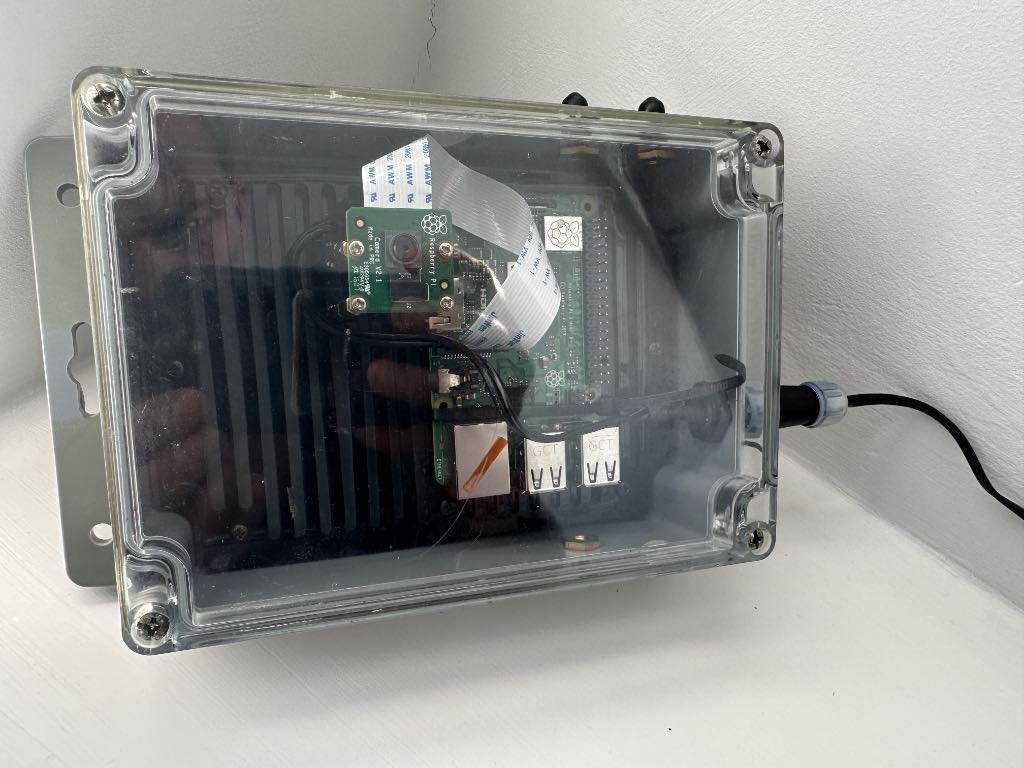
Given that the Raspbian image on there was now 2 years out of date, it made sense to stick on a fresh copy. So that meant following pretty much my previous guide on setting up a Pihole on a Raspberry Pi, again choosing the Lite OS option, setting up static IPs for eth0 and wlan0 and enabling SSH. The only additional step is in raspi-config and to enable the legacy support for the camera.
With that done, can start thinking about the code.
The code is stored in a Git repository, so I wanted to be able to clone that. It also depends on a few libraries we needed to install a few bits:
- Git
sudo apt install git
- Pip
sudo apt install python3-pip
- Picamera library
pip install picamera
- Azure Blob stuff
pip install azure-storage-blob azure-mgmt-storage
But here was the first explosion. Azure-storage-blob would not build at all on this Pi. Pip would exist with a mixture of errors, some like this:
Could not build wheels for X which use PEP 517 and cannot be installed directly
I tried a variety of things, but the error seemed to ultimately lie with the cryptography module, that wouldn’t build. Long story short, to get that working, you need:
- A rust compiler
curl https://sh.rustup.rs -sSf | sh
Make sure you restart your shell (or reconnect to the Pi) after doing this.
- OpenSSL dev libraries
sudo apt install libdev-ssl
- Up to date Pip
pip install –upgrade pip
You can then install cryptography manually:
pip install cryptography
… and if that all builds OK, then installing the Azure libraries should now be fine.
A useful thing to have on the Pi is a web server so that you can actually monitor whether the camera is doing what it says it should. You just want something simple and light for this, so I suggest Lighttpd… which is installed simply with
sudo apt install lighttpd
By default you will access the server via its IP address, and files are stored in
/var/www/html/
You can check it’s working by creating an index.html in that location.
You can then move on to the code! More on that in Part 2.