Guide: MOSS 2007 Multiple site collections on Port 80
Requirement: multiple site collections on port 80 on unique URLs in SharePoint 2007, e.g,. http://democlient1, http://someotherdemo
The scenario: you have one development machine which you use for multiple clients. Because of this, you want to host multiple site collections and allow a unique URL for each, without having to specify the port number in the URL. For example, if your machine name is SPDEV then by default your primary web application will respond on http://spdev. But you also want to have http://democlient1, http://someotherdemo, etc. There are a three ways of doing this. The two common ways are 1) assign unique IP addresses to each web application each responding on port 80, but this can be more complicated to setup and manage at the machine level, or 2) Use a non-standard port number for each web application, but this creates uglier URLs, e.g., http://democlient1:18765, http://someotherdemo:18734 etc.
Solution: It’s possible to achieve the requirement.
**Notes:
**
-
This assume you’ve already setup MOSS 2007 in your Dev environment with an existing web application and site collection in it.
-
This also assumes that you want to create an entirely new and separate site collection from any existing. If you want an existing site collection to respond on different URLs (e.g., https:// or an alternate URL such as Extranet) the this is NOT the way to do it. For that see about Extending a Web Application.
-
You’ll need: Central Admin, IIS Manager, regedit, notepad
-
This was done on MOSS 2007 SP2 on Windows Server 2008 R2, IIS 7.0. Instructions for other versions might be a different
-
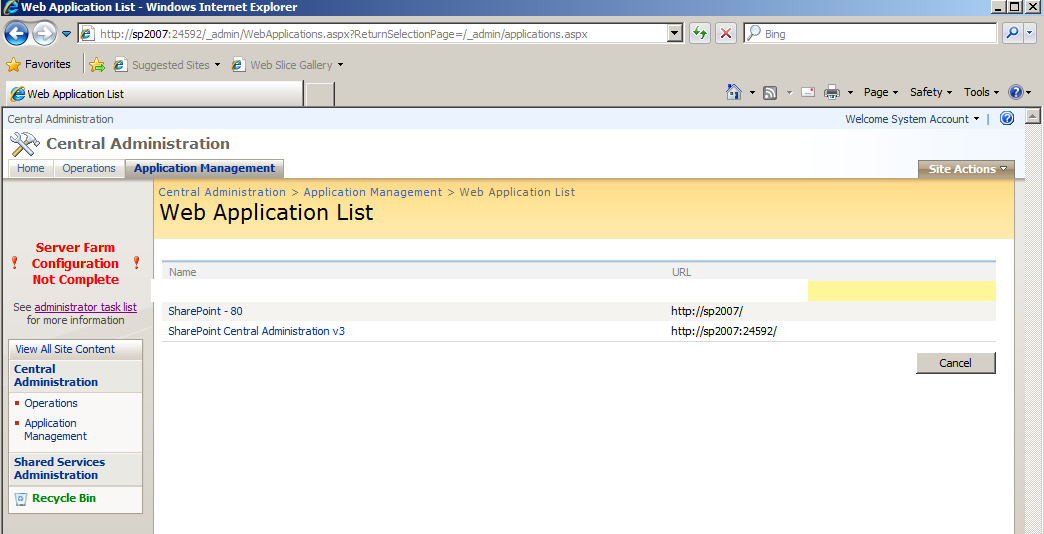
Login in to Central Admin and navigate to Application Management > Web Application List. You’ll see your existing list of web applications, and if it’s reasonably default, you’ll likely see Sharepoint and Central Admin:
- Create a new web application: Application Management > Create or Extend Web Application > Create New Web Application
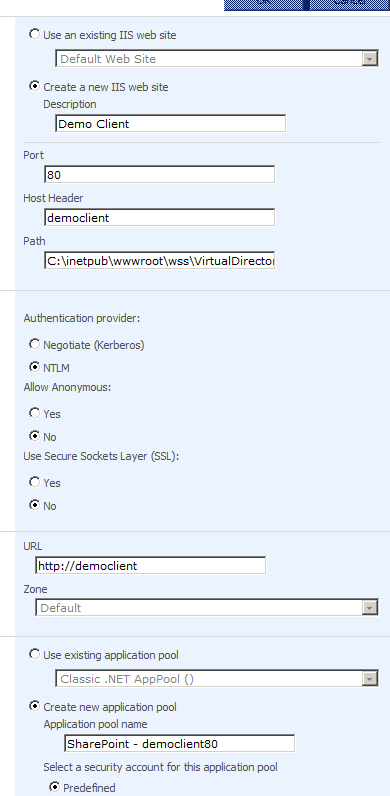
- In the options use
- Create a new IIS web site: Descriptive name of new collection (this is important - you can’t have two site collections in a single web application responding on Port 80)
- Port: 80
- Host Header: name of url, e.g., democlient
- Create a new application pool - optional, you could reuse an existing application pool
- Restart IIS automatically
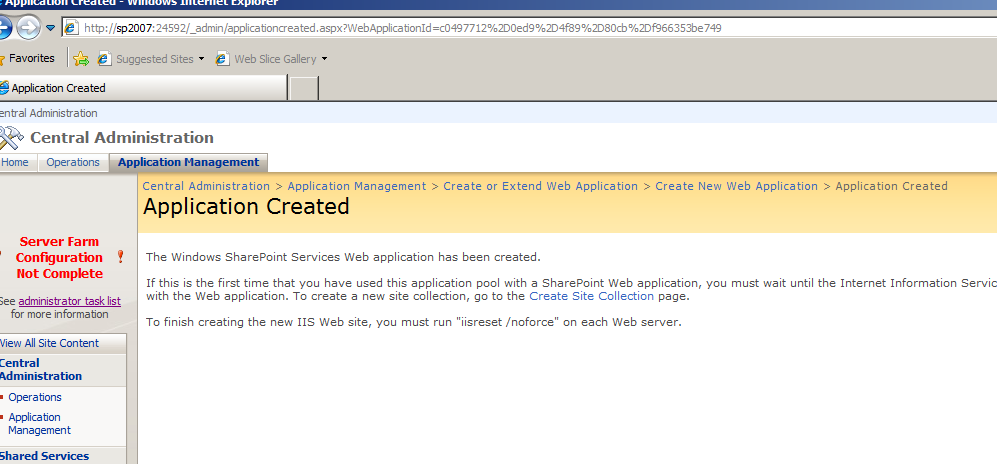
Click OK. It will go off and create the new web site. If successful:
- Click Create site collection and create a site collection in your new web site.
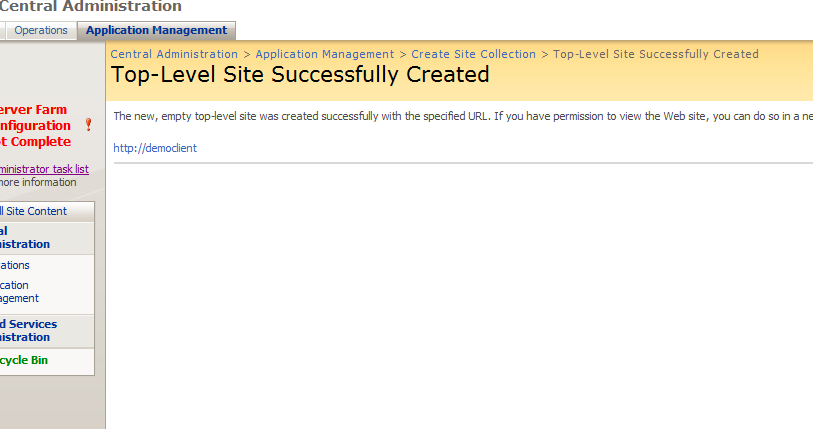
- You’ll see:
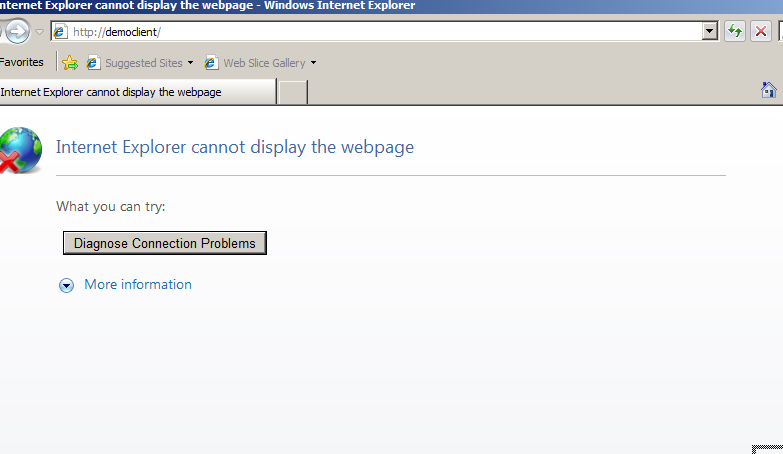
Click on the link to your new site, and…. it doesn’t work:
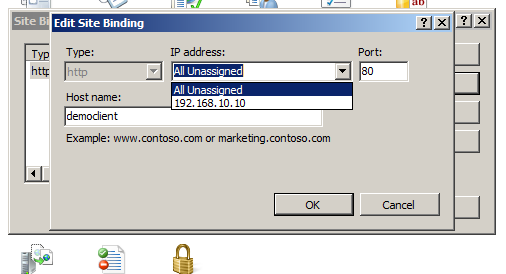
- Open IIS Manager. Expand machine name > Sites and find the site collection that you just created. In the Actions panel on the far right, click Edit Bindings.
- Click the entry, and click edit
- In IP address, change All Unassigned to the IP address in the dropdown. Click OK. Close Site Bindings.
- In the Actions panel under Manage Web site, click Restart. Close IIS Manager.
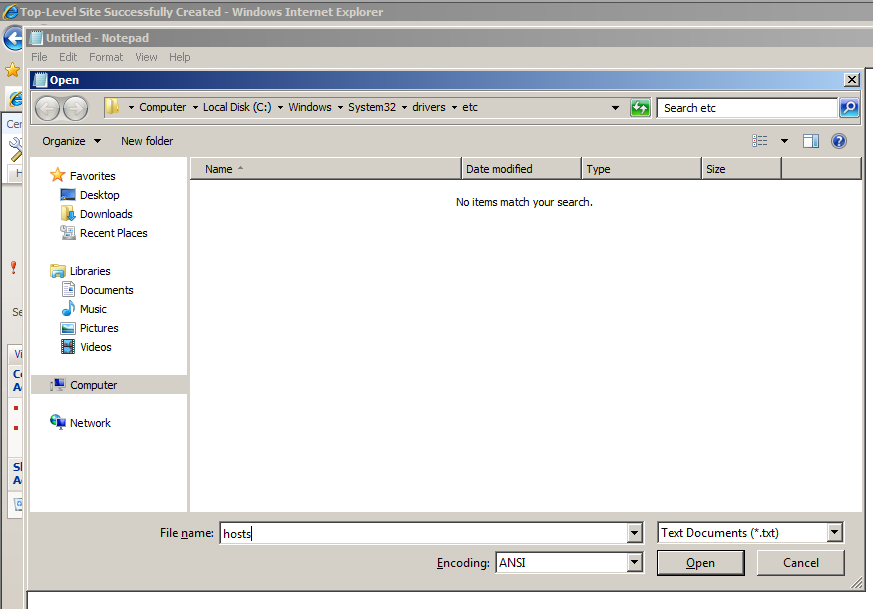
- Run Notepad as Administrator. Open a new files and navigate to c:windowssystem32driversetc. By default, you won’t see any files listed, but in the file name box type hosts and click OK. The hosts file should open.
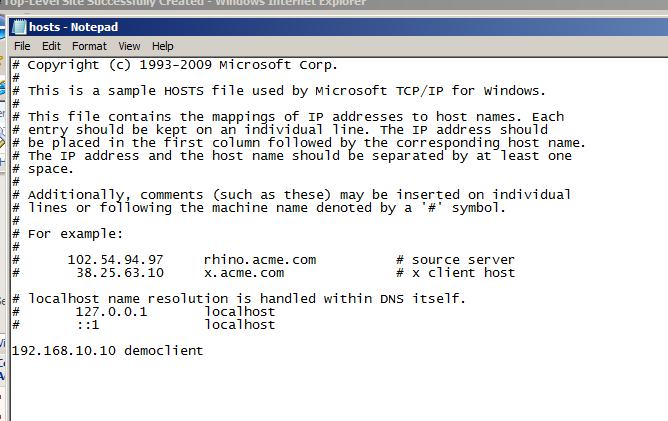
- At the bottom of the file, add a new line which is IP address space sitename, e.g.,
192.168.10.10 democlient
- Save the file and close Notepad.
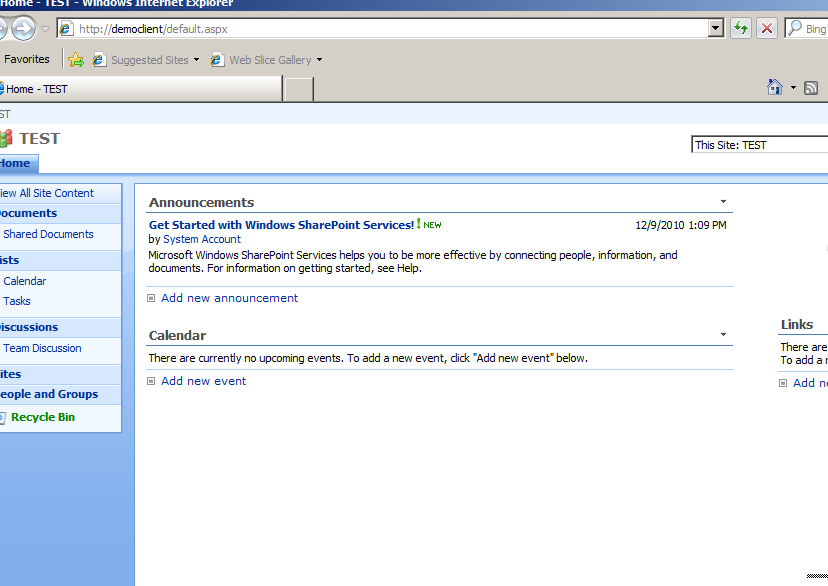
- Refresh your new site and hey presto!
More notes:
- If when you refresh the site you get a neverending stream of login boxes, you need to Disable the loopback check. In regedit, navigate to
HKEY_LOCAL_MACHINESYSTEMCurrentControlSetControlLsa
Add a new DWORD called DisableLoopbackCheck with a value of 1. Restart the machine. Ensure you understand the consequences of making change - it’s recommended for Dev only and should not really be deployed to a production environment. Thanks to Adrian for help with this!
- If your demo machine is part of a domain, at step 10, you may prefer to add the DNS entry in your DNS server as opposed to the hosts file.
